Watering can plans
Materials:
Two 18-litre square-section cooking oil tins, one for the can, one for the spout
2 x 5 x 32cm wood for the handle
Four 1" woodscrews to secure the handle
Fig. 1 Top view -- leave the "front" part of the lid in place to prevent the water splashing out.
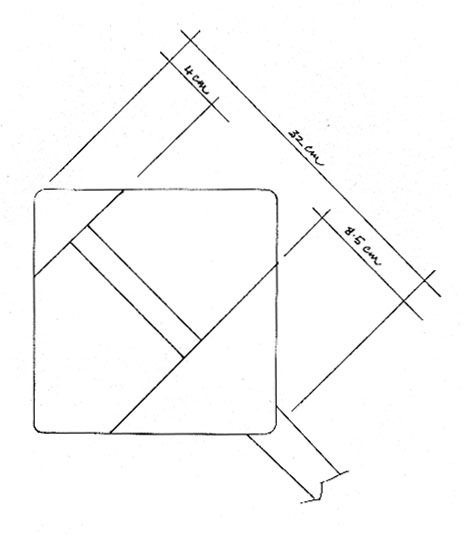
Fig. 2 Fitting the spout -- templates
Top: cut the metal for the wider end of the spout to this shape. Make it 1cm longer than needed, then make 1cm-deep snips into the end every 1cm. When the spout's assembled and fitted into the hole in the can, splay the snips out to make a joint, then solder inside and out. The metal should be 19cm wide at the end to allow 1.5cm for joining flaps -- see bottom right: fold, bend over, flatten, solder.
Bottom left: Stick this template over the bottom corner of the can and cut a hole this shape for the spout.
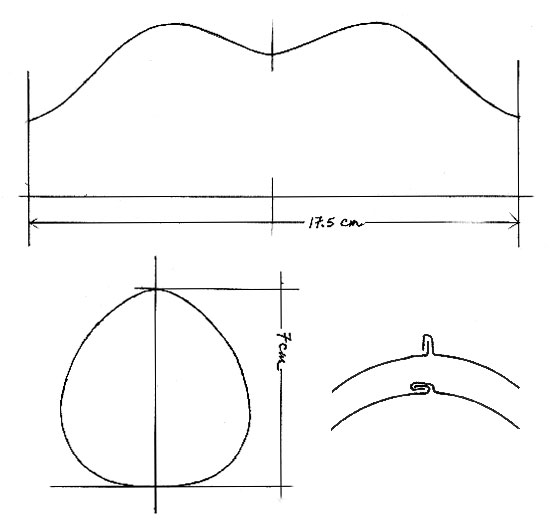
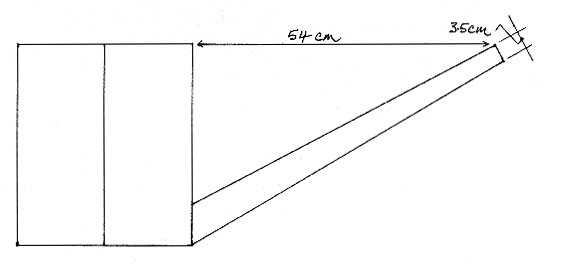
Fig. 3 The end of the spout should be level with the top of the can, and 54cm away from it.
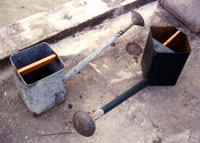
This is the plan for the green watering can on the right |
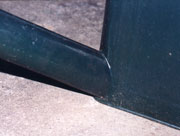
Solidly soldered, the spout doesn't need wires to support it. |

Community development | Rural development
City farms | Organic gardening | Composting | Small farms | Biofuel | Solar box cookers
Trees, soil and water | Seeds of the world | Appropriate technology | Project vehicles
Home | What people are saying about us | About Handmade Projects
Projects | Internet | Schools projects | Sitemap | Site Search | Donations | Contact us

© Copyright of all original material on this website is the property of Keith Addison, unless otherwise stated. It may not be copied or distributed without the explicit permission of the copyright holder. All material is provided "as is" without guarantees or warranty of any kind, either expressed or implied.


